Google, Apple, Bing and Mappy have all added images to their map apps.
Great, you can now see your own house on the internet!
Or not?
If you’re privacy minded, like I am, maybe it’s not. If I want to see my own house, I’ll just step outside. And I really don’t need others, like (future) employers for example, to snoop around my stuff.
So I had those apps blur my house, making it unrecognisable. Follow the instructions below to blur your own house.
And if you want even more privacy, create a dedicated email address before following the instructions, to prevent these companies from linking your physical address to your email address; you can delete the new email address once you’re done.
And remember: freedom cannot exist without privacy!
(I’m translating from french, so if you can’t find the exact options I tell you to click or select, be creative.)
Google
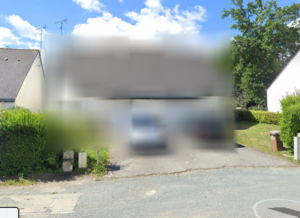
Go to Google Maps.
Find your address.
Open Street View.
Drag the image until you’re looking at your house.
Find the Report a problem link (top left corner, 3 vertical dots), and click it.
Under Request blurring select My home.
Fill in your full address (country included).
Fill in your email address, solve the captcha, and submit the form.
In a day or 2 you’ll receive a mail telling you that the changes will be made within 24 hours. And those changes are indeed made (in my case they also blurred my neighbours’ house, so this story may have a sequal someday).
Apple
I haven’t found Apple Plans online, so these instructions are for iPhone.
If you don’t own an Apple device, or don’t want to use it, send a mail to MapsImageCollection@apple.com requesting to censor your home; this mail should probably be in english, and must contain your full address (country included).
On iPhone, and probably other Apple devices:
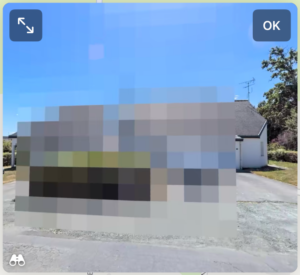
Open Plans.
Find your address.
Tap on the binoculars icon in the bottom left corner of the map.
Maximize the image that appears (if it isn’t maximized already).
Drag the image around a little (strangely enough, this seems to change the available options for the image).
In the list of options below the image, tap on Report a problem.
Select Privacy issues.
Select Blur the image of my home.
Fill in your address.
Submit the form (top right).
Within a few days you receive confirmation that your request has been received and will be acted upon. A week or two after this confirmation my house was blurred.
Bing
Bing’s images are of such low quality that blurring doesn’t really change much. But since we’re on the topic, let’s include them.
Go to Bing Maps.
Find your address.
Click on the photo of your street on the left side of the window.
Drag the image until you’re looking at your house.
Click on Report a privacy concern with this image in the bottom left corner of the image.
In the form that opens, select House in the dropdown list.
In the textfield, ask to have your house blurred, and add your full address (country included); also add your email address, in case they want to verify.
In the (horrible) panoramic photo, click on your house.
Submit the form.
Bing does not confirm the reception of your request, nor the blurring itself, but after one or two weeks your house is blurred. (Bing also blurred my neighbours’ house.)
Mappy
I haven’t been able to test Mappy, because 360° view, as it’s called on Mappy, is not yet available for my address. But the possibility to blur your address is available; it is, however, a bit more work than for the sites above.
Go to Mappy.
Find your address.
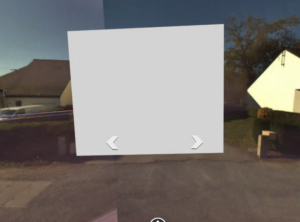
Click on the 360° icon on the right of the screen (figure with arrow around), and then click in front of your house on the map.
Click on Report in the bottom left corner of the image.
Under B) you will find the list of information to provide; you need
- the ID of the image containing your house (follow the instructions, and click on the provided link for an example)
- your complete address
- a document that proves that this really is your address
- a screenshot on which you’ve indicated which part of the image to blur (click on the provided link for an example)
E-mail all of the above to contact@mappy.com; the message’s subject should be “Signaler une image – Facade” (Mappy is french).
Since I’ve not been able to test this (yet), I don’t know whether Mappy confirms reception of your request, nor the time it takes for your house to be blurred.
